
Fall Garden Cleanup Checklist Before the First Frost
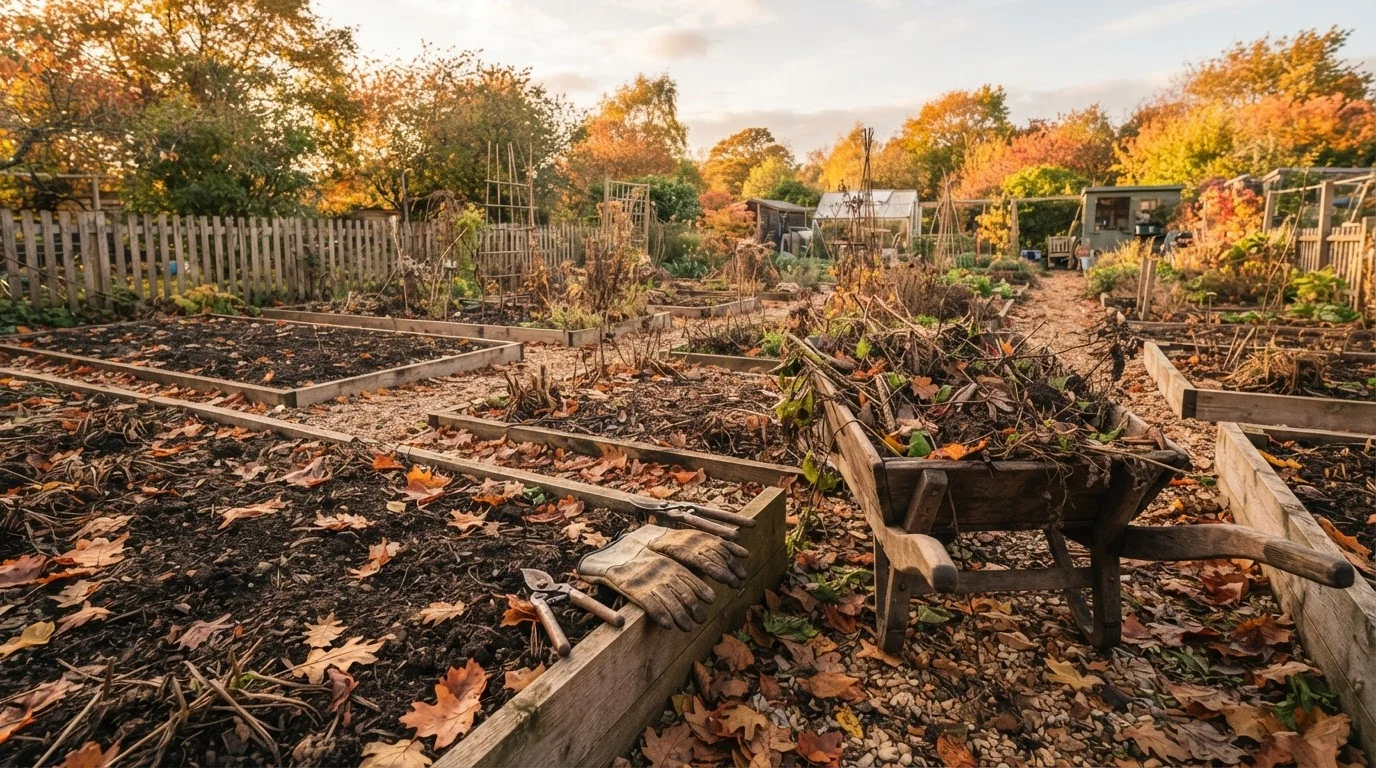
Photo credit: ArticlesHaven.net
In this article
A step-by-step fall checklist to protect plants, prep soil, and clear beds before winter sets in—organized by task and timing.
Key Takeaways
- Clearing dead plant material before frost reduces overwintering pests and disease pressure next season.
- Mulching beds after the ground cools-not before-helps regulate soil temperature without trapping warmth that invites mold.
- Bulbs, tender perennials, and container plants have different cold tolerances and need different pre-frost action.
- Fall is the right time to amend soil and plant garlic, not to fertilize established beds.
- Clean, dry tool storage over winter prevents rust and extends equipment life significantly.
Why Fall Cleanup Timing Actually Matters
Most gardeners treat fall cleanup as a single weekend chore, but timing each task correctly makes a measurable difference. Pull spent annuals too late and you give fungal spores a warm shelter. Mulch too early and you trap ground heat that delays dormancy. Cut back perennials at the wrong moment and you remove the very stems that insulate crowns through hard freezes.
This checklist is organized so you can work through tasks in the right sequence-starting several weeks before your area's average first frost date and finishing after the ground has cooled. If you're not sure of your first frost date, the USDA's plant hardiness zone map and your local cooperative extension office are reliable starting points.
Fall garden work also feeds directly into spring success. Doing it right now means your spring garden readiness checklist will be a much shorter list. This article is also a natural companion to the broader seasonal home maintenance overview, which frames garden prep alongside other fall tasks around the house.
4-6 Weeks Before First Frost
Clearing and Cutting Back
Soil and Bed Prep
Container Plants and Tender Perennials
Tool and Equipment Wrap-Up
Tools You'll Want on Hand
Fall cleanup spans several different task types-cutting, digging, hauling, and protecting-so having the right tools staged before you start saves unnecessary trips back to the shed. A quick inspection of your gear now also pays off: nicks in pruner blades and cracked hoe handles slow you down and can damage plants. For a full routine on keeping equipment in shape through the off-season, see our guide to garden tool maintenance.
Pruning shears (bypass style)
Cutting back perennial stems and removing spent annuals cleanly without crushing plant tissue.
Garden fork or spade
Digging tender bulbs and working compost into cleared beds.
Wheelbarrow or garden cart
Hauling removed plant debris, compost, and mulch across the garden efficiently.
Compost or aged compost bag
Amending cleared beds with organic matter before winter sets in.
Mulch (straw, shredded leaves, or bark)
Insulating soil and root zones after the ground has cooled.
Soil test kit or lab service
Checking pH and nutrient levels so amendments can be made before spring planting.
Burlap wrap
Protecting marginally hardy shrubs from wind desiccation during cold months.
Pruning: What to Cut Now and What to Leave
One of the most common fall mistakes is over-pruning. Woody shrubs and spring-blooming plants like lilacs and forsythia set their flower buds in late summer-cutting them back in fall removes next year's blooms. Similarly, many ornamental grasses and seed-head perennials provide habitat for beneficial insects and birds through winter and are better left standing until late winter or early spring.
Don't Prune Spring Bloomers in Fall
Shrubs like lilac, forsythia, azalea, and rhododendron develop their flower buds during late summer. Cutting them back in fall means losing next year's blooms entirely. Hold all pruning on these plants until immediately after they finish flowering in spring.
Diseased Material Doesn't Belong in the Compost
Foliage or stems affected by fungal disease, black spot, or severe pest infestation should be bagged for municipal green waste rather than added to a home compost pile. Home compost piles rarely reach temperatures high enough to kill pathogens reliably, and infected material will recirculate problems next season.
What should come down now: dead or diseased stems, frost-killed annuals, and any foliage showing signs of fungal issues like powdery mildew or black spot. Don't compost diseased plant material-bag it for municipal waste pickup instead. For a fuller breakdown of which pruning decisions cause long-term setbacks, the article on pruning timing mistakes is worth reading before you pick up the shears.
Soil, Bulbs, and Beds: Setting Up for Spring
Fall is one of the best windows for soil amendment because organic matter added now has months to break down before planting season. Work compost into cleared beds rather than leaving bare soil exposed to erosion and compaction over winter. Avoid nitrogen-heavy fertilizers in fall-they push tender new growth that will be killed by frost and can stress plant root systems.
Mulch Timing Changes Everything
Applying mulch while the soil is still warm traps heat, delays dormancy in perennial crowns, and can encourage fungal growth. Wait until you've had several consistent overnight freezes and the top few inches of soil feel genuinely cold to the touch. The goal of fall mulch is to keep the ground cold and stable after it freezes-not to keep it warm.
Garlic is a fall-planted crop that thrives when put in the ground four to six weeks before hard frost. If you've been thinking about expanding your vegetable growing, this is also a good time to lay the groundwork-literally. The article on starting a vegetable garden from scratch covers soil prep and site selection in depth for anyone planning new beds next year.
For tender bulbs like dahlias, cannas, and caladiums, dig and store them before the first hard freeze. Hardy spring bulbs-tulips, daffodils, alliums-go in the ground now. Apply mulch after the top few inches of soil have cooled, typically after a few consistent overnight freezes.

Author
Articles Haven Editorial Contributor
Articles Haven Editorial Team is the collective byline for our editorial team and contributor network. Articles published under this byline or an editorial pen name are researched, written, and reviewed according to our editorial standards for clarity, consistency, and independence before publication.
View all articles →