
Spring Garden Readiness Checklist
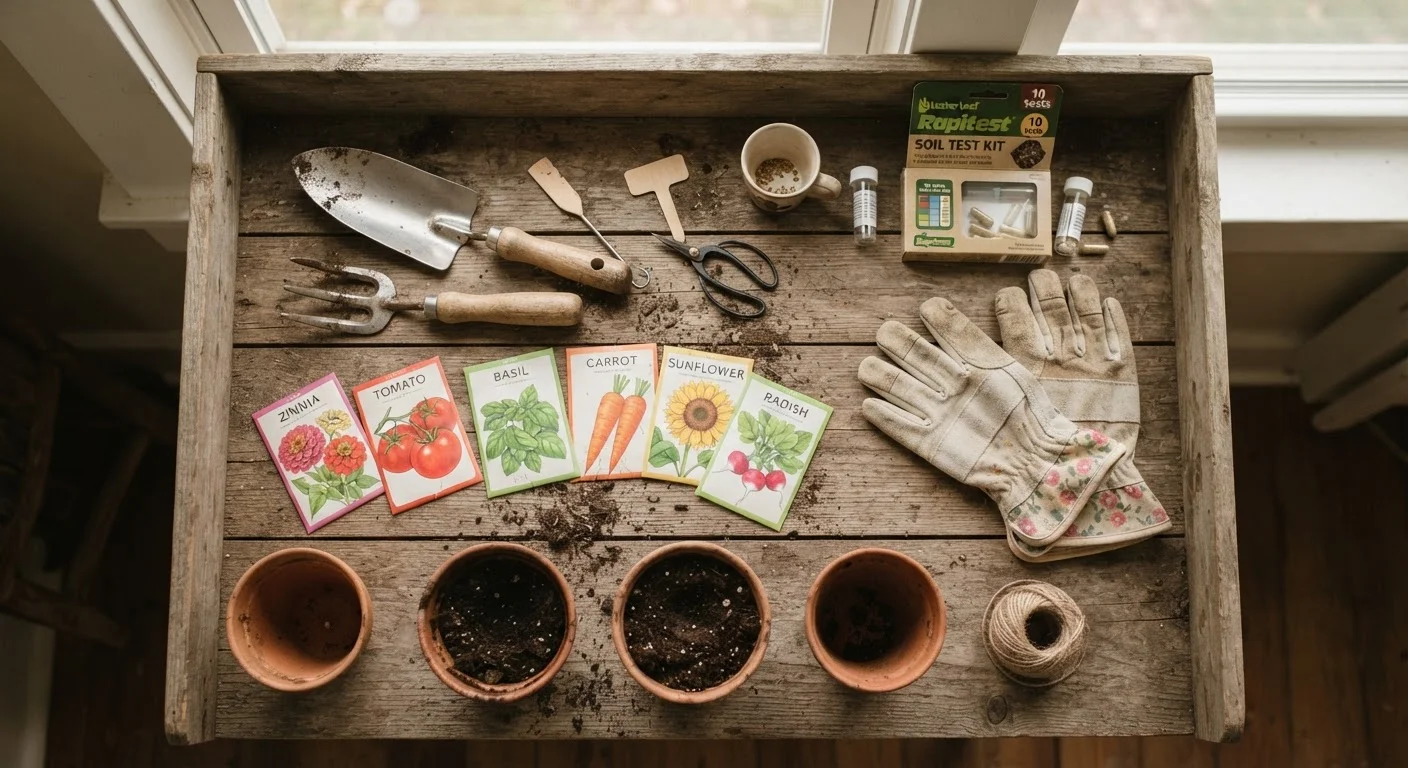
Photo credit: ArticlesHaven.net
In this article
Run through this practical checklist before the growing season starts—covering soil testing, tool inspection, bed prep, and seed inventory.
Key Takeaways
- Test your soil before planting - pH and nutrient imbalances are common and easy to miss without a kit.
- Inspect and sharpen tools now so you're not losing time once planting season is underway.
- Review last year's seed inventory before buying new packets to avoid duplicates and expired stock.
- Bed preparation done early gives soil amendments time to work before seeds go in.
- A quick pest and disease audit of beds saves considerable effort later in the growing season.
Why a Spring Checklist Beats Winging It
Most garden problems in summer have roots - literally - in decisions made, or skipped, in early spring. Compacted soil, dull tools, and an expired seed packet discovered mid-season are frustrating in ways that a one-time prep session can prevent. This checklist walks through the four areas that matter most before the growing season starts: soil health, tools and supplies, bed preparation, and planting plans.
If you already run a broader home prep routine, this garden checklist slots in naturally. The seasonal home maintenance guide covers the wider picture of what to tackle each spring around the house and yard.
Work through each section in order - soil and tool checks come first because their results may change what you buy or plant.
Soil test kit
Measures pH and key nutrient levels so you know exactly what amendments your beds need before planting.
Hand fork or broadfork
Loosens compacted soil without disrupting the beneficial structure that tillers tend to destroy.
Bypass pruners
Used to cut back dead perennial stems and shape shrubs cleanly at the start of the season.
Whetstone or sharpening file
Restores a clean working edge to hoe blades, pruners, and spades before the season's heavy use.
Compost
Worked into beds to improve soil texture, drainage, and organic matter content ahead of planting.
Garden notebook or planting app
Records what was planted where and when - essential for crop rotation and end-of-season review.
The Full Spring Garden Checklist
The checklist below is organized into four groups. Mark each item as you go, and flag anything that needs a follow-up purchase or repair.
Soil Health
Tools and Equipment
Bed Preparation
Seed and Plant Inventory
Don't Work Wet Soil
Digging or tilling soil when it's saturated compacts it and destroys the pore structure roots depend on. Do a simple squeeze test: grab a handful of soil and press it into a ball. If it crumbles when you poke it, it's ready to work. If it stays in a dense, wet clump, wait a few more days before disturbing the bed.
Frost Date Errors Are Costly
Planting warm-season crops before your last frost date is one of the most common early-season mistakes. Frost date averages vary significantly even within the same state. Always verify your specific zip code using an official USDA Plant Hardiness Zone resource or your local cooperative extension service rather than relying on general regional advice.
Putting the Checklist Into Action
Once you've run through the checklist, you'll typically have a short list of gaps: amendments to buy, seeds to source, tools to replace. Tackle supplies first so they're on hand before beds are ready. If you're working with limited outdoor space, the principles here apply equally to containers - the container gardening overview covers soil mixes, drainage, and plant selection for smaller setups.
For gardeners planning to start seeds indoors, timing is critical. Once your beds are prepped and your last-frost date is confirmed, check out the seed starting indoors guide before you sow anything - it covers common mistakes that can waste weeks of effort.
Seed Germination Tests Before You Toss
Before discarding older seed packets, run a quick germination test: place 10 seeds between damp paper towels, seal in a plastic bag, and check after the packet's listed germination window. If fewer than 6 out of 10 sprout, replace the batch. If 7 or more germinate, the seeds are worth planting - sow a little more densely to compensate for reduced germination rates.
Finally, keep a simple garden notebook or phone note with what you planted, where, and when. That record becomes invaluable when you run through the fall garden cleanup checklist at the end of the season.

Author
Articles Haven Editorial Contributor
Articles Haven Editorial Team is the collective byline for our editorial team and contributor network. Articles published under this byline or an editorial pen name are researched, written, and reviewed according to our editorial standards for clarity, consistency, and independence before publication.
View all articles →