
Backyard Composting from the Ground Up
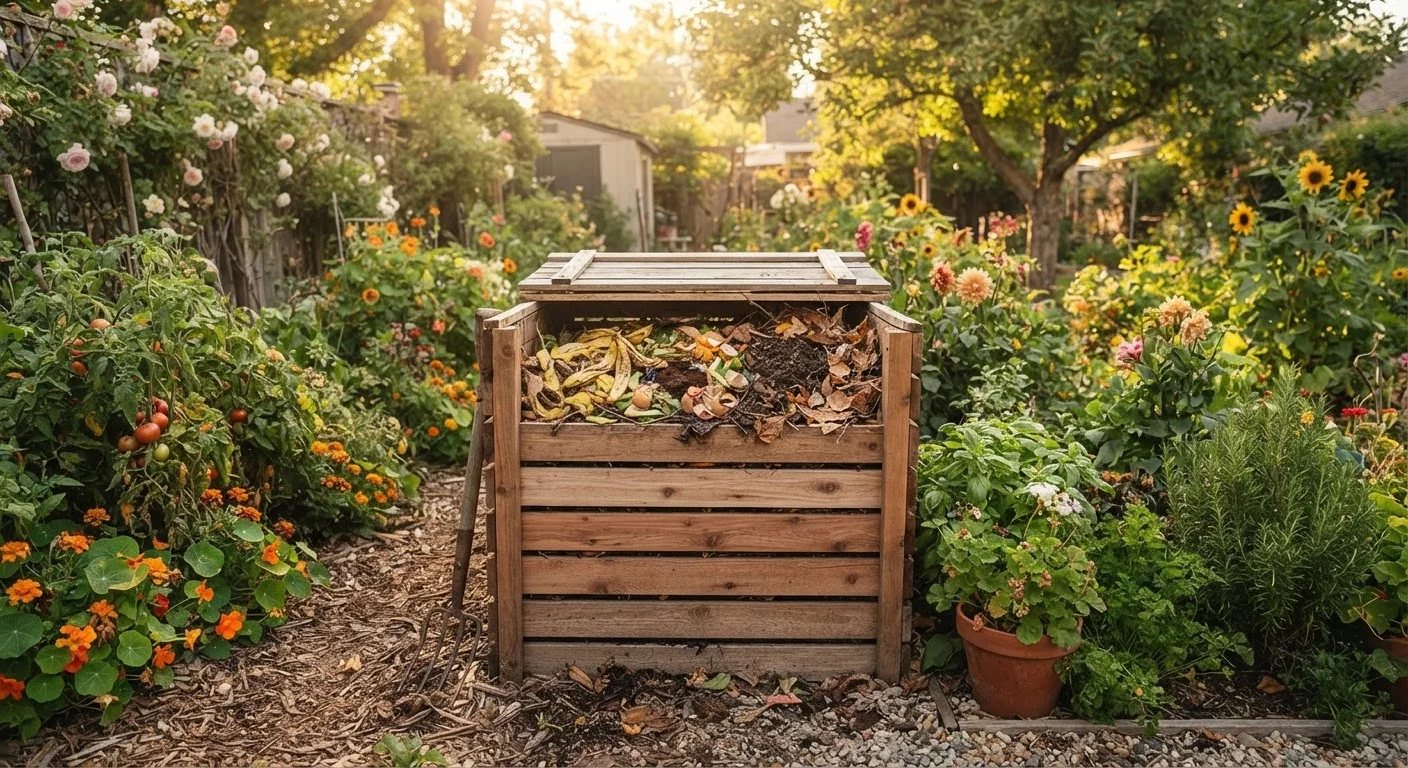
Photo credit: ArticlesHaven.net
In this article
Turn kitchen scraps and yard waste into usable compost. A no-fuss introduction covering pile setup, what to add, and realistic timelines.
Key Takeaways
- Compost is made from a balanced mix of carbon-rich and nitrogen-rich organic materials.
- A simple open pile works fine; enclosed bins help with pests and aesthetics.
- Turning your pile regularly and keeping it moist speeds up decomposition significantly.
- Finished compost is dark, crumbly, and smells like fresh earth - not rotting food.
- Most backyard piles take three to twelve months depending on method and management.
- Compost improves soil structure and feeds plants slowly - it is not a substitute for all fertilizers.
Why Bother Composting?
Composting converts organic waste - fruit peels, coffee grounds, grass clippings, cardboard - into a soil amendment that genuinely improves your garden. It is one of the more tangible things a home gardener can do to close the loop between kitchen and yard.
The practical payoff is real. Finished compost loosens dense clay soil, improves drainage in sandy soil, and feeds soil organisms that plants depend on. It also reduces the volume of waste heading to your bin, which matters if you are thinking about household waste sorting more broadly.
Browns
Carbon-rich dry materials like leaves, cardboard, and straw. They give microbes an energy source and help keep the pile from getting too wet.
Greens
Nitrogen-rich fresh materials like vegetable scraps, coffee grounds, and grass clippings. They provide the protein microbes need to multiply.
Decomposition
The natural breakdown of organic matter by bacteria, fungi, and other organisms. Heat, moisture, and oxygen all influence how fast it happens.
Carbon-to-nitrogen ratio
The balance between browns and greens in your pile. Getting this ratio roughly right is the single biggest factor in how fast and cleanly your pile breaks down.
Vermicomposting
Composting using worms (typically red wigglers) to break down organic material. Well-suited to small spaces, including indoors.
Choosing Your Setup
You have a few realistic options, and the right one depends on your space, budget, and how involved you want to be.
- Open pile: The simplest approach - just a heap in a corner of the yard. No cost, no assembly. Works fine if aesthetics and pests are not a concern.
- DIY bin: A square frame made from wooden pallets or wire mesh. Cheap to build, easy to customize in size, and provides some structure without confining the pile too much.
- Enclosed plastic bin: A lidded unit that limits pests and looks tidier. Decomposition can be slower inside because airflow is reduced - turning matters more here.
- Tumbler: A rotating drum mounted off the ground. Easier to turn and harder for pests to access. Generally more expensive upfront but speeds up decomposition noticeably with regular use.
Place your setup where it is convenient to reach from the kitchen but not pressed against your home's foundation or a fence that could trap moisture. Partial shade helps prevent the pile from drying out too quickly in summer.
Keep a Small Caddy in the Kitchen
A countertop container with a lid makes it easy to collect scraps without daily trips to the pile. Empty it every two to three days to prevent fruit flies. Compostable liner bags are optional - plain newspaper works fine too.
What to Add - and What to Leave Out
Compost depends on a working balance between two categories of material:
- Browns (carbon-rich): Dry leaves, cardboard, newspaper, straw, wood chips, paper bags. These provide the energy source microbes need.
- Greens (nitrogen-rich): Fruit and vegetable scraps, coffee grounds and filters, tea bags, fresh grass clippings, plant trimmings. These supply protein and moisture.
A rough guideline is to aim for roughly two to three parts browns for every one part greens by volume. Too many greens and the pile gets slimy and smelly; too many browns and it stalls.
Leave these out of a standard backyard pile: meat, fish, bones, dairy products, oily foods, pet waste, diseased plants, and anything treated with pesticides. These either attract pests, create persistent odors, or introduce pathogens the pile may not reliably destroy.
Avoid These Common Additions
Meat, dairy, and oily foods decompose poorly in a backyard pile and reliably attract rodents and other pests. Pet waste carries pathogens that a home pile may not reach temperatures high enough to neutralize. Diseased plants can spread problems back into your garden when you use the finished compost.
Managing Your Pile
Three things drive decomposition: moisture, oxygen, and a decent balance of materials.
Moisture: The pile should feel like a wrung-out sponge - damp but not dripping. In dry climates or summer heat, you may need to water it occasionally. In wet climates, a lid or tarp prevents it from becoming waterlogged.
Turning: Turning the pile introduces oxygen, which speeds up microbial activity significantly. A passive pile (never turned) will still compost - just slowly, over many months. Turning every one to two weeks can cut that timeline dramatically.
Particle size: Smaller pieces break down faster. Shredding cardboard, chopping vegetable scraps, or running a mower over leaves before adding them all help.
If your pile is not doing much, the most common fixes are: add nitrogen (greens or a light handful of garden soil), add moisture, or turn it to reintroduce air.
Hot Composting vs. Cold Composting
A well-managed pile that is turned regularly and stays moist can reach internal temperatures high enough to kill weed seeds and some pathogens - this is called hot composting. A passive pile (cold composting) rarely reaches those temperatures, so it is better to keep weed seed heads and diseased plant material out of a pile you do not plan to turn actively.
Realistic Timelines and What Finished Compost Looks Like
Timelines vary considerably depending on your method:
| Method | Typical Timeline |
|---|---|
| Passive pile (no turning) | 6-12 months |
| Turned pile (every 1-2 weeks) | 2-3 months |
| Tumbler (turned regularly) | 4-8 weeks |
Finished compost is dark brown to black, crumbly, and smells like fresh earth - not like the food scraps you put in. You should not be able to identify any of the original materials. If you can still see recognizable vegetable peels or leaves, it needs more time.
It is common to have a partially finished pile. You can sift out the ready material from the bottom while continuing to add to the top.
Putting Compost to Work
Once you have finished compost, a few applications are especially practical:
- Soil amendment: Work two to four inches into your garden beds before planting. This is particularly valuable when starting a vegetable garden from scratch and your native soil needs help.
- Top dressing: Spread a thin layer around established plants. Worms and rain will gradually incorporate it.
- Potting mix ingredient: Mix compost with other materials for containers - useful whether you are doing container gardening or filling a raised bed.
For a fuller picture of when compost is the right call versus mulch or a conventional fertilizer, see compost, mulch, and fertilizer compared. Compost is a slow-release soil builder - it is genuinely useful, but it works alongside other practices rather than replacing all of them.
US Composting Council
A nonprofit organization providing educational resources on composting methods, compost quality, and finding local composting programs.
EPA Composting at Home
The US Environmental Protection Agency's overview of home composting basics, including what materials to use and how to troubleshoot common issues.
Local Cooperative Extension Services
University extension programs in most US states offer region-specific composting advice, including local climate considerations and troubleshooting guidance.
Frequently Asked Questions

Author
Articles Haven Editorial Contributor
Articles Haven Editorial Team is the collective byline for our editorial team and contributor network. Articles published under this byline or an editorial pen name are researched, written, and reviewed according to our editorial standards for clarity, consistency, and independence before publication.
View all articles →