
Garage Organization: Turning a Catch-All Space Into a Functional One
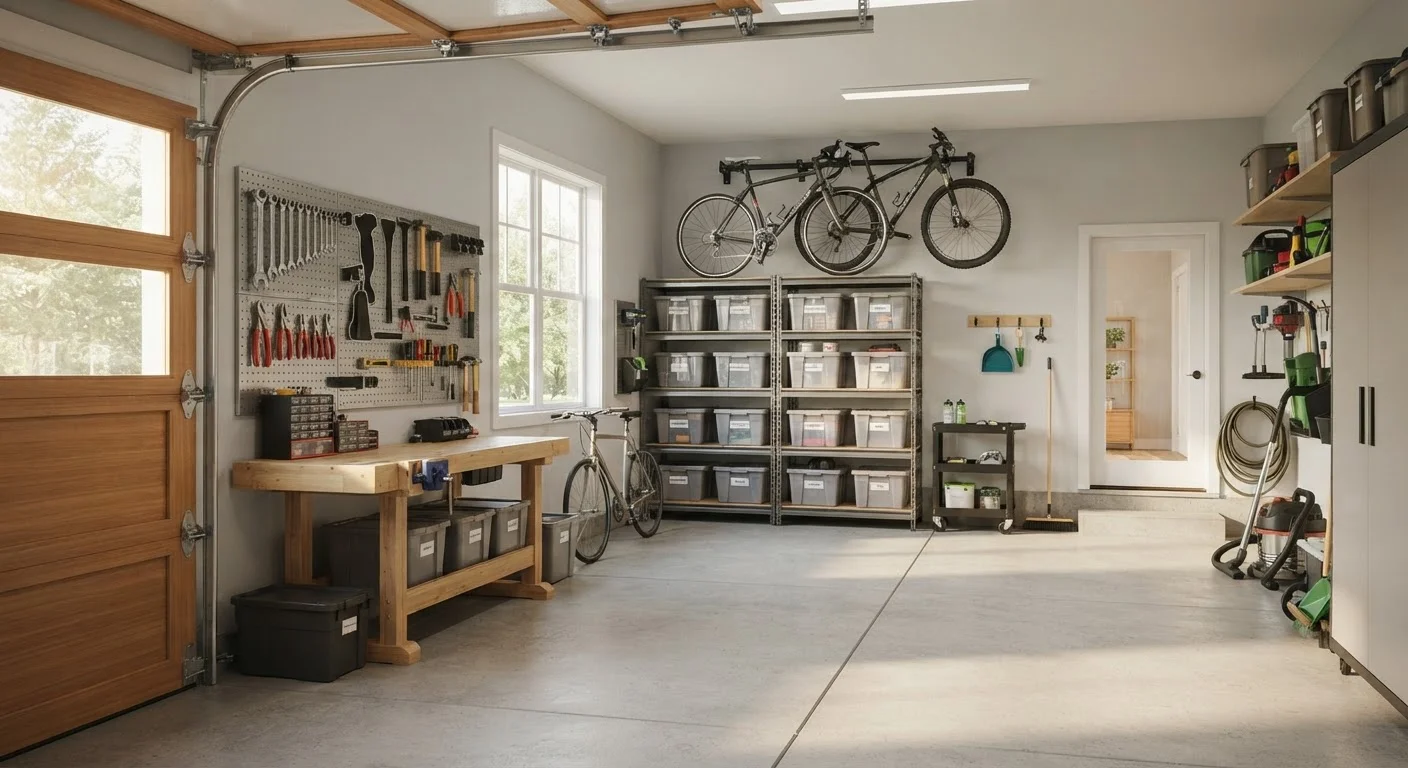
Photo credit: ArticlesHaven.net
In this article
Garages often absorb whatever doesn't fit elsewhere. Learn the planning steps that turn an overwhelmed garage into a usable, organized space.
Key Takeaways
- Sort before you buy storage - purchasing organizers first leads to mismatched, wasted solutions.
- Zones based on how often items are used determine the most logical layout for your garage.
- Wall and ceiling space are underused assets that dramatically increase usable storage capacity.
- Labeling and consistent return habits are what keep an organized garage organized over time.
- Some garage tasks - like electrical work or heavy shelving anchoring - warrant professional help.
Why Garages Become Catch-All Spaces
The garage is typically the path of least resistance in any home. When something doesn't have a place indoors, it lands in the garage. Over time, this layering of displaced items creates a space that's hard to navigate and impossible to use for its intended purpose - whether that's parking a car, running a workshop, or storing seasonal gear.
The problem is rarely a lack of storage products. It's the absence of a system. As disorganized catch-all spaces cause real daily friction, the same principle scales up dramatically in a garage. The fix requires a process, not just new shelving.
This guide walks through a practical, zone-based approach to reclaiming your garage without overspending on organizers you don't need.
What you will need
Step-by-Step: Building a Functional Garage
Follow these steps in order. Skipping the sorting phase and going straight to buying storage is the most common and costly mistake garage organizers make.
Empty the Garage Completely
Pull everything out of the garage and into the driveway or an open outdoor space. This gives you a clear view of the actual floor area and wall surfaces you have to work with - and forces a full inventory of what's actually in there.
Sort Into Clear Categories
With everything visible, sort items into four piles: Keep, Donate, Discard, and Belongs Elsewhere in the House. Be honest about what you actually use. If a tool hasn't been touched in three years and you don't have a specific project planned, it's a candidate for donation.
Within the keep pile, begin grouping by type: automotive supplies, gardening tools, sports gear, seasonal decorations, hardware, and so on.
Map Out Functional Zones
Before anything goes back in, sketch a rough zone map of your garage. Common zones include: a vehicle zone (clearance needed for doors and walking), a workbench or DIY zone, a sports and recreation zone, a seasonal storage zone, and a gardening zone.
Assign high-access zones to the most convenient wall space near the entry points. Seasonal items - holiday decorations, camping gear - go to harder-to-reach overhead or back-wall areas.
Install Wall and Overhead Storage First
Wall-mounted systems - pegboards, track shelving, slatwall panels - should go up before freestanding shelves, since they define the room's structure. Overhead ceiling racks work well for lightweight seasonal bins.
When anchoring heavy shelving to walls, locate studs and use appropriate fasteners rated for the load you plan to store. Freestanding shelves should be anchored to prevent tipping.
Load Zones and Label Everything
Move your sorted keep items back into the garage, placing each group into its designated zone. Use uniform bins where possible - they stack more efficiently and look easier to navigate. Apply clear, readable labels to every bin, shelf section, and drawer.
Label at eye level where you can. Labels that face outward at a glance eliminate the frustration of pulling multiple bins to find what you need.
Sort Categories Before Measuring for Storage
Knowing exactly what you're storing - and in what quantities - before you measure or shop prevents the common mistake of buying containers that don't fit your actual items. Walk through your sorted keep pile and estimate volume by category. That data drives better storage decisions than guesswork.
Choosing the Right Storage Tools
Once your zones are defined and your keep pile is sorted, select storage solutions that match your actual categories - not the other way around. Wall-mounted pegboards work well for hand tools. Heavy-duty freestanding shelves handle bins and bulk items. Overhead ceiling racks suit seasonal gear that rarely moves.
Wall-mounted pegboard or slatwall panel
Provides flexible, adjustable hanging storage for hand tools, cords, and frequently accessed items.
Heavy-duty freestanding shelving units
Holds bins, boxes, and bulk items at accessible heights throughout the garage.
Overhead ceiling storage rack
Maximizes unused vertical space for storing seasonal or rarely accessed items like holiday décor.
Uniform stackable bins with lids
Creates consistent, stackable storage that keeps categories separated and identifiable.
Label maker or adhesive labels
Makes zone and bin identification immediate and reduces time spent searching for items.
Stud finder
Locates wall studs for safely anchoring heavy shelving and wall-mounted storage systems.
Workbench with built-in storage
Provides a dedicated surface for DIY or automotive tasks with integrated drawer or shelf space below.
If you're working with limited square footage in your home overall, the principles behind small-space storage apply just as well in a garage: think vertical, prioritize access frequency, and don't let containers become clutter. For those managing costs carefully, many of these storage improvements fall within the scope of high-impact, low-cost home organization.
Don't Store Hazardous Materials Near Heat Sources
Gasoline, propane tanks, paint, and certain fertilizers require specific storage conditions. Keep flammable materials in approved containers, away from water heaters, furnaces, or any open flame. Check local fire code guidance for requirements specific to your area - improper storage of hazardous materials in attached garages poses a serious fire risk.
Maintaining the System Over Time
An organized garage requires two ongoing habits: returning items to their designated zones immediately after use, and conducting a brief seasonal review - typically twice a year - to purge anything that's accumulated without a clear home.
Labels are your enforcement mechanism. Clearly marked bins and zones remove the cognitive burden of deciding where something goes. When every household member knows where tools, sports equipment, and seasonal decorations live, the system sustains itself with minimal effort.
If your long-term goal involves more significant changes - converting the space for living use rather than storage - that's a substantially different undertaking. Garage conversions involve zoning rules and permits that go well beyond organization. Know the distinction before committing to structural changes.
Permits May Be Required for Structural Changes
Adding a subpanel, installing new lighting circuits, or modifying load-bearing walls in a garage are regulated activities in most US jurisdictions. Even seemingly minor electrical upgrades can require a permit and licensed contractor. Verify local requirements with your municipality before starting any work that goes beyond surface-level organization.

Author
Articles Haven Editorial Contributor
Articles Haven Editorial Team is the collective byline for our editorial team and contributor network. Articles published under this byline or an editorial pen name are researched, written, and reviewed according to our editorial standards for clarity, consistency, and independence before publication.
View all articles →