
Tile Work Done Right: Surface Prep Principles That Hold Everything Together
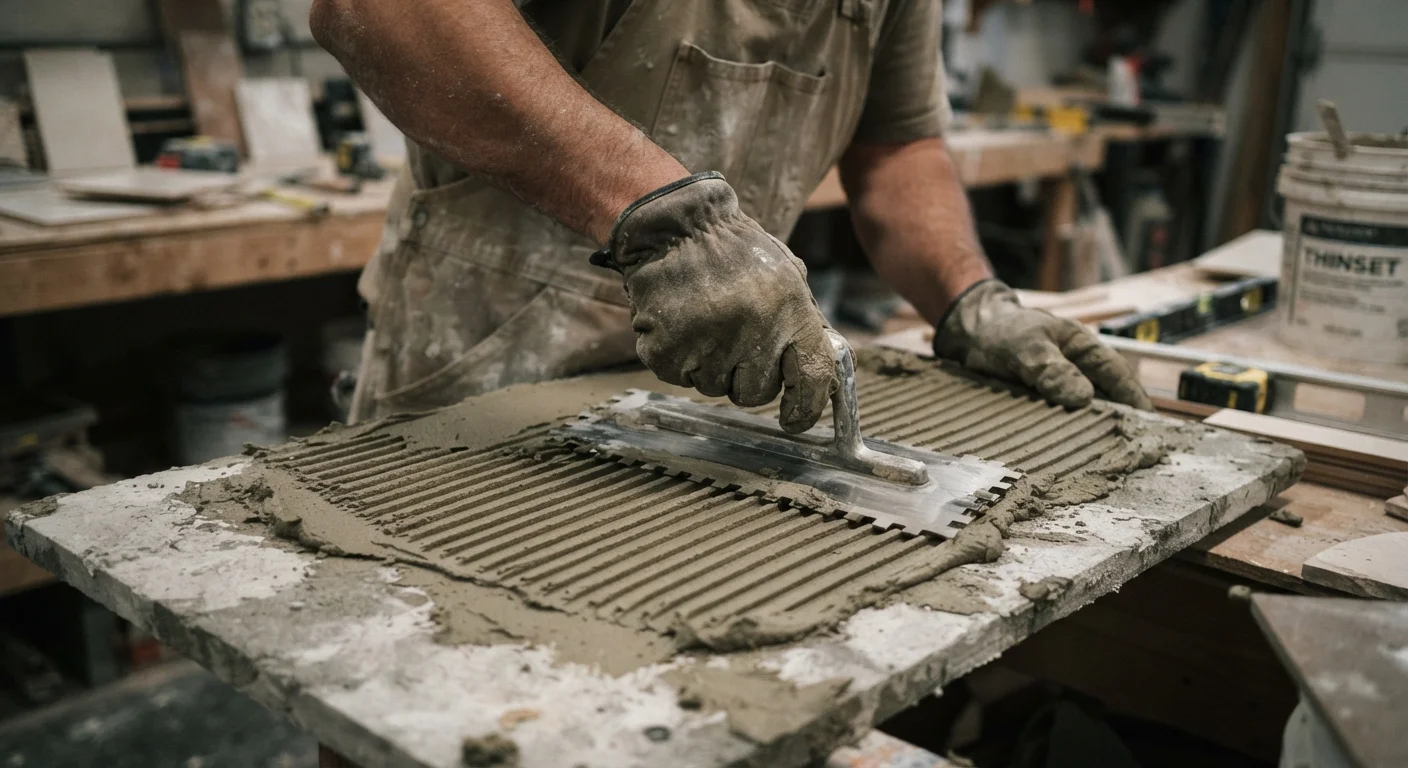
Photo credit: ArticlesHaven.net
In this article
Grout failures and cracked tiles usually start before the first tile is laid. Understand the substrate and prep fundamentals that matter most.
Key Takeaways
- Most tile failures-cracked grout, loose tiles, lippage-originate in poor surface preparation, not installation technique.
- The substrate must be clean, flat within 1/8 inch over 10 feet, and structurally rigid before any tile goes down.
- Moisture testing is essential in wet areas and on concrete slabs; skipping it is one of the costliest DIY mistakes.
- Cement backer board, not standard drywall, is required for wet environments like showers and bathroom floors.
- Knowing when to call a licensed tile contractor can save more money than attempting a complex prep job without experience.
Why Prep Is Where Tile Jobs Actually Succeed or Fail
Walk through any home improvement forum and you'll find the same story repeated: tiles that sounded hollow six months after installation, grout that cracked before the first winter, or an entire floor that had to be torn up because the subfloor flexed. In nearly every case, the root cause wasn't the tile itself or the grout brand - it was what happened (or didn't happen) before the first tile touched the floor.
Surface preparation isn't a preliminary step you push through to get to the real work. It is the real work. Understanding what the substrate needs - and honestly assessing whether you can deliver it - is the most important decision a homeowner faces in any tile project. This is especially true when weighing a DIY approach against hiring a professional. See this room-by-room demolition prep checklist for a broader look at what to address before work even begins.
Test for substrate flatness before ordering tile or mixing mortar.
Industry standards call for no more than 1/8-inch variation over a 10-foot span (or 1/16 inch over 2 feet for large-format tile). High spots cause tiles to crack under point load; low spots starve the thinset and leave voids. Discovering this after the tile is down means a full tear-out.
Verify structural rigidity - tile needs a deflection-resistant base, not just a flat one.
Tile and grout are rigid materials. Any flex in the subfloor transmits directly to the installation, cracking grout first and then the tile bond. The standard maximum deflection for tile substrates is L/360 of the span - a floor joist span that moves more than that under load will eventually break the tile system.
Use the correct substrate material for the environment - especially in wet areas.
Standard drywall absorbs moisture and deteriorates behind tile in showers and wet floors. Cement backer board or a waterproofed tile backer is required in those environments. Using the wrong substrate is a building code issue as much as a durability one.
Clean the substrate thoroughly and check for contaminants that prevent mortar adhesion.
Thinset mortar requires mechanical and chemical contact with the substrate. Paint, sealers, dust, oils, and old adhesive residue all block that bond. A visually clean floor can still have a layer of residue that causes tiles to debond months later.
Perform moisture testing on concrete slabs and in below-grade spaces before installing tile.
Concrete slabs can transmit significant moisture vapor even when they appear dry. Excess moisture compromises thinset cure, promotes mold growth under the tile, and causes certain tiles (particularly large-format porcelain) to debond. Basement and slab-on-grade projects carry the highest risk.
The Core Prep Principles That Professionals Never Skip
Experienced tile setters apply a consistent set of standards regardless of the room or tile type. These aren't optional refinements - they're minimum conditions for a lasting installation.
1/8"
Maximum floor flatness tolerance for most tile installations
The Tile Council of North America specifies no more than 1/8-inch variation over 10 feet as the minimum flatness standard for most tile work.
L/360
Maximum allowable subfloor deflection for tile
Industry guidelines establish L/360 of the joist span as the deflection limit; exceeding this is a leading cause of grout cracking in residential floor tile.
The principles below cover the variables that cause the most failures in residential tile work. Each one represents a judgment call that carries real consequences if skipped.
DIY Versus Professional: Reading the Job Honestly
Surface prep is where most homeowners underestimate the scope of a tile project. Replacing a small bathroom backsplash on a clean, dry, solid wall? A careful DIYer can handle that. Tiling a shower surround over an old tub deck with questionable framing behind it, or laying large-format porcelain on a bouncy wood subfloor? That's a different conversation entirely.
When a Professional Assessment Makes Sense
Even homeowners who plan to do most of the work themselves can benefit from a licensed tile contractor's assessment of the substrate before starting. Many contractors offer consultation visits that identify hidden problems - moisture intrusion, structural flex, compromised framing - that are far cheaper to address before tile is purchased than after. This is particularly valuable in older homes, rooms with past water damage, or any below-grade space.
One useful framework: if your prep involves structural investigation - probing for rot, assessing deflection in a subfloor, or evaluating moisture intrusion - you're in territory where a licensed contractor's assessment is worth the cost even if you end up doing some of the work yourself. Misread a structural issue and the tile cost is the least of your problems.
Surface prep also connects to broader home condition questions. If you're working near walls that have had water damage, review this guide on drywall repair to understand what needs to be corrected before you tile over it. Similarly, basement tile projects carry extra complexity around moisture - what to investigate before finishing a basement covers the moisture and structural variables that affect any floor installation below grade.
Clean the Whole Space Before You Assess It
Substrate problems hide under dust, old adhesive, and debris. Before making any flatness or moisture assessment, do a thorough cleaning of the entire surface area. A deep-clean approach applied to the work area before you evaluate the substrate ensures you're reading the actual surface condition, not the layer of grime on top of it.
Good surface prep is largely invisible once the tile is down - which is exactly the point. The goal is a substrate so solid and flat that the tile has nothing to react to. Get that right, and the rest of the job follows.
This article provides general home improvement information for educational purposes only. Always verify local building codes and consult a licensed contractor for structural, electrical, or plumbing concerns related to your specific project.

Author
Articles Haven Editorial Contributor
Articles Haven Editorial Team is the collective byline for our editorial team and contributor network. Articles published under this byline or an editorial pen name are researched, written, and reviewed according to our editorial standards for clarity, consistency, and independence before publication.
View all articles →