
Before You Demo: A Room-by-Room Preparation Checklist
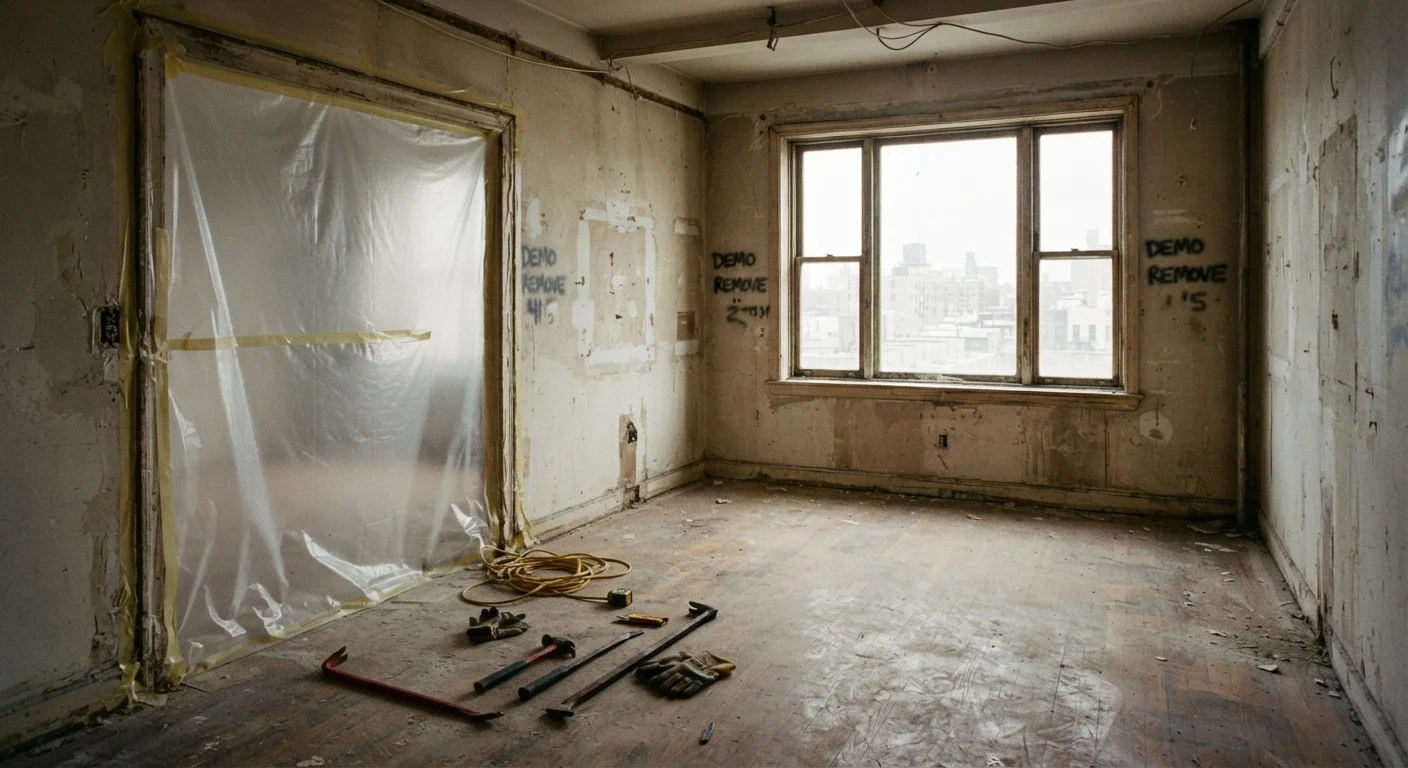
Photo credit: ArticlesHaven.net
Demolition day prep often gets skipped. Use this checklist to protect utilities, neighboring rooms, and your timeline.
Key Takeaways
- Locating and shutting off utilities before demo is non-negotiable - not doing so can cause serious injury or damage.
- Neighboring rooms need protection from dust, debris, and vibration before any walls come down.
- Permit requirements for demolition work vary by municipality - verify before you swing a hammer.
- Some materials, including older drywall and floor tiles, may contain hazardous substances that require professional testing.
- A room-by-room walkthrough before demo day catches surprises that would otherwise derail your schedule.
Why Pre-Demo Prep Matters More Than Most Homeowners Expect
Demolition looks satisfying on TV renovation shows - a few swings of a sledgehammer and the wall is gone. In practice, skipping even one step in the preparation process can mean a burst pipe, live wires exposed mid-swing, or dust contamination spreading through your HVAC system to every room in the house.
Whether you're tackling a kitchen gut, a bathroom remodel, or a full room conversion, the prep work you do before demo day directly determines how smoothly the rest of your project goes. It also shapes one of the most important decisions homeowners face: which parts of the work to handle themselves versus which to hand off to a licensed professional.
If you're still evaluating the scope and cost of your project, it's worth reviewing common renovation myths that inflate budgets - many of them cluster right around the demo phase. And once demo is complete, how you sequence the follow-on trades makes a significant difference; see how experienced project managers approach renovation sequencing before scheduling your contractors.
Use the checklist below as a room-by-room walkthrough you complete at least 48 hours before work begins.
Non-contact voltage tester
Confirms electrical circuits are de-energized before cutting into walls or ceilings.
Stud finder with AC detection
Locates framing members and flags hidden wiring or pipes behind walls before demo.
Plastic sheeting and painter's tape
Seals doorways and vents to contain demolition dust within the work zone.
N95 or P100 respirator
Protects against fine particulate dust, including drywall and older insulation particles.
Lead and asbestos test kits
Used for preliminary screening of painted surfaces and suspect materials in older homes.
Protective floor covering (rosin paper or ram board)
Shields flooring along debris travel paths from damage during demo and material removal.
Pry bar and reciprocating saw
Primary hand tools for controlled demolition of drywall, trim, and framing.
The Pre-Demo Checklist
Work through each group in order. Items marked must are non-negotiable from a safety and code standpoint. Should items are strongly recommended to protect your timeline and neighboring spaces. Nice-to-have items improve the experience but won't stop your project if skipped.
Permits & Documentation
Utility Identification & Shutoff
Hazardous Materials Assessment
Protecting Adjacent Rooms
Debris & Waste Planning
Safety Gear & Site Setup
Don't Assume Utilities Are Off
Breaker labels in older homes are frequently inaccurate or mislabeled. Always verify that a circuit is de-energized with a non-contact voltage tester before cutting into a wall - not just by checking the breaker. The same principle applies to water: valves that haven't been operated in years sometimes fail to close fully, so test them in advance rather than on demo day.
For projects involving basement spaces - where moisture intrusion, egress windows, and structural footings add complexity - the pre-demo phase carries additional considerations. The guide on what to investigate before basement finishing begins is a useful companion read.
Timeline slippage often traces back to surprises uncovered during demo that weren't anticipated. Building extra buffer into your schedule before work starts - rather than after - is covered in detail in why renovation timelines slip and how to plan around it.
Hazardous Materials Require Professional Assessment
Disturbing asbestos-containing materials or lead paint without proper testing and precautions is a serious health and legal risk. Do not rely on visual inspection alone - both materials can be present in homes without visible signs. In many jurisdictions, licensed abatement is legally required before certain demolition work can proceed. Check with your local building department and a certified inspector before any demo in a pre-1980 home.

Author
Articles Haven Editorial Contributor
Articles Haven Editorial Team is the collective byline for our editorial team and contributor network. Articles published under this byline or an editorial pen name are researched, written, and reviewed according to our editorial standards for clarity, consistency, and independence before publication.
View all articles →