
Drywall Repair: Matching the Fix to the Damage
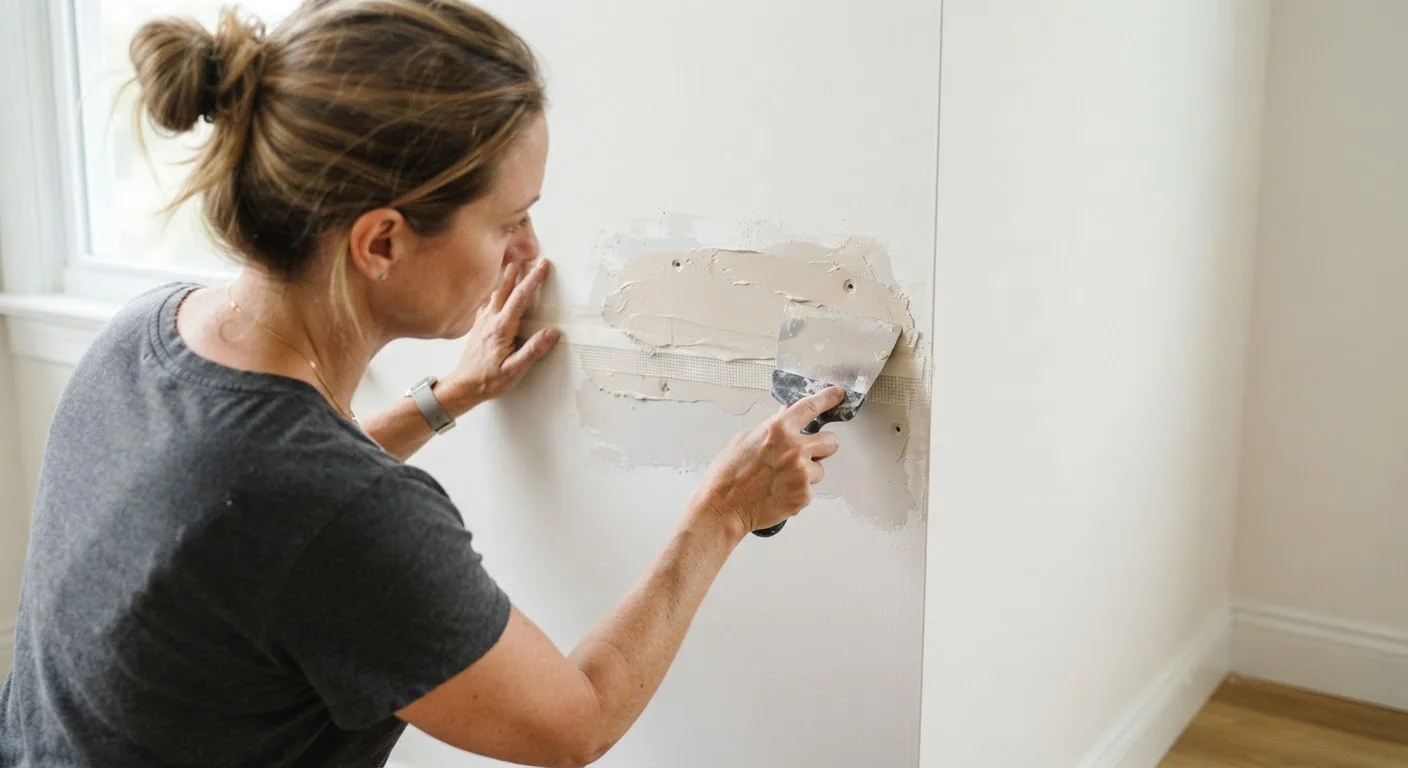
Photo credit: ArticlesHaven.net
In this article
Small holes, larger patches, and water-damaged sections each need a different approach. Here's how to assess and address each type.
Key Takeaways
- Damage size and cause determine which repair method is appropriate - one approach doesn't fit all.
- Small nail holes and dings need only spackling; medium holes require mesh or backing; large sections need drywall panels.
- Water-damaged drywall must never be patched before the moisture source is resolved.
- Feathering joint compound over a wide area is what makes patches blend invisibly.
- Some drywall repairs - especially structural or water-related - are better left to a licensed professional.
Why Repair Method Matters as Much as Repair Skill
Drywall damage is one of the most common home repair issues - and one of the most frequently mismatched with the wrong fix. Using spackling on a 3-inch hole leads to a crumbling mess. Reaching for a full patch kit on a nail hole wastes time. And patching any water-damaged section without resolving the cause guarantees the problem returns, often with mold.
The skill ceiling for drywall repair is moderate. Most homeowners can handle small to medium repairs confidently with the right materials and a little patience. Larger or moisture-related repairs raise the stakes - and sometimes the right decision is to bring in a professional rather than risk a cosmetic fix that masks a structural or health concern. For a broader framework on that decision, see DIY vs. hiring a contractor.
What you will need
Spackling compound or lightweight joint compound
Fills small holes and dings; joint compound is used for larger patches and feathering.
Putty knife or drywall knife (4-6 inch)
Applies and smooths compound across repair areas.
Self-adhesive mesh drywall patch
Provides backing support for medium-sized holes before compound is applied.
Drywall panel and screws
Required for large hole repairs where new drywall must be cut and secured to studs.
Drywall saw or jab saw
Cuts out damaged sections cleanly for large or water-damaged repairs.
Sandpaper (120-grit and 220-grit)
Smooths compound between coats and before priming.
Primer
Seals the repaired area before painting to prevent texture and color inconsistency.
Stud finder
Locates framing before cutting into walls for mid-size or large repairs.
Step-by-Step: Matching the Fix to the Damage
Resolve Moisture Before Any Repair
Patching over water-damaged drywall without fixing the source is a temporary cosmetic fix at best - and a mold risk at worst. Before cutting out any discolored or soft section, trace and eliminate the moisture source. See our guide to moisture damage sources if you're unsure where the problem originates.
Assess and categorize the damage
Before reaching for any product, take stock of what you're dealing with. Drywall repairs fall into three general categories:
- Small holes and dings (under 1 inch): Nail holes, small dents, or screws that pulled out cleanly.
- Medium holes (1-4 inches): Doorknob impacts, anchor bolt removals, or accidental punctures.
- Large holes and water damage (4+ inches or soft/discolored drywall): These require panel replacement and sometimes professional assessment.
Categorizing correctly means you won't over-engineer a simple fix or under-prepare for a complex one.
Repair small holes with spackling
For nail holes and minor dings, lightweight spackling compound is sufficient. Apply a small amount with a putty knife, pressing it firmly into the hole and dragging the blade flat across the surface to remove excess. Allow it to dry fully - typically 1-2 hours depending on humidity - then sand smooth with 220-grit sandpaper. Wipe away dust before priming.
Use a mesh patch for medium holes
For holes in the 1-4 inch range, a self-adhesive mesh patch provides the backing needed to hold compound. Center the patch squarely over the hole and press firmly to the wall. Apply joint compound over the mesh with a 6-inch knife, spreading it outward in thin, feathered strokes - aim to cover an area about three times the patch diameter. Allow to dry, sand lightly, and apply a second coat. A third coat is often needed for a flush finish.
Cut and replace panels for large holes
Holes larger than 4 inches generally need a new drywall piece screwed to framing. Use a stud finder to locate the nearest studs on either side of the damage, then mark and cut a clean rectangular opening that extends to the center of each stud. Cut a replacement piece to fit precisely. Secure it with drywall screws into the studs, tape the seams with paper or mesh tape, and apply joint compound in thin coats, feathering each coat outward. Sand between coats.
If this involves ceiling drywall, electrical proximity, or significant structural area, consider whether professional help is the smarter call. Our article on when to hire a contractor vs. DIY can help you decide.
Address water-damaged drywall separately
Water-damaged drywall is not simply a bigger hole. The damaged section must be cut out entirely - soggy or mold-affected drywall cannot be patched over. Once the source of moisture is confirmed as resolved, cut a clean opening beyond the visibly affected area to ensure all compromised material is removed. Install blocking or furring strips if studs are not accessible, fit new drywall, and tape and finish as with a large repair.
If you're uncertain whether the moisture has been fully addressed, consult a professional before closing the wall. For context on how moisture enters homes and what it takes to stop it, see our overview of common moisture damage causes.
Prime and paint the repaired area
Priming is not optional. Unprimed joint compound absorbs paint unevenly, creating a visible dull spot called flashing even after multiple paint coats. Apply a drywall primer or PVA primer to the repaired area, feathering it slightly beyond the patch. Once dry, apply your finish paint. To match existing texture, you may need to apply a light knockdown or orange-peel texture before priming - this takes practice, so test on scrap drywall first.
Don't Guess Behind the Wall
Before cutting into drywall for any mid-size or large repair, use a stud finder and check for electrical wiring or plumbing behind the surface. Cutting blindly into a wall can damage wiring or pipes - hazards that go well beyond a cosmetic fix.
Thin Coats Beat Thick Ones Every Time
Applying joint compound in multiple thin coats - rather than one thick pass - reduces cracking and shrinkage as it dries. Sand lightly between coats with 120-grit sandpaper, then finish with 220-grit before priming. Patience here is what separates a smooth result from a lumpy one.
Once the repair is dry, primed, and painted, a properly executed patch should be invisible. The most common failure point is rushing - applying thick compound, skipping sanding between coats, or painting before the surface is fully cured. Build in drying time and the result will hold.
For other surface prep principles that carry over into related finish work, the concepts in tile surface prep fundamentals overlap more than you'd expect - patience, thin layers, and proper substrate prep matter in both.

Author
Articles Haven Editorial Contributor
Articles Haven Editorial Team is the collective byline for our editorial team and contributor network. Articles published under this byline or an editorial pen name are researched, written, and reviewed according to our editorial standards for clarity, consistency, and independence before publication.
View all articles →