
Airport Navigation for Anxious or Infrequent Flyers
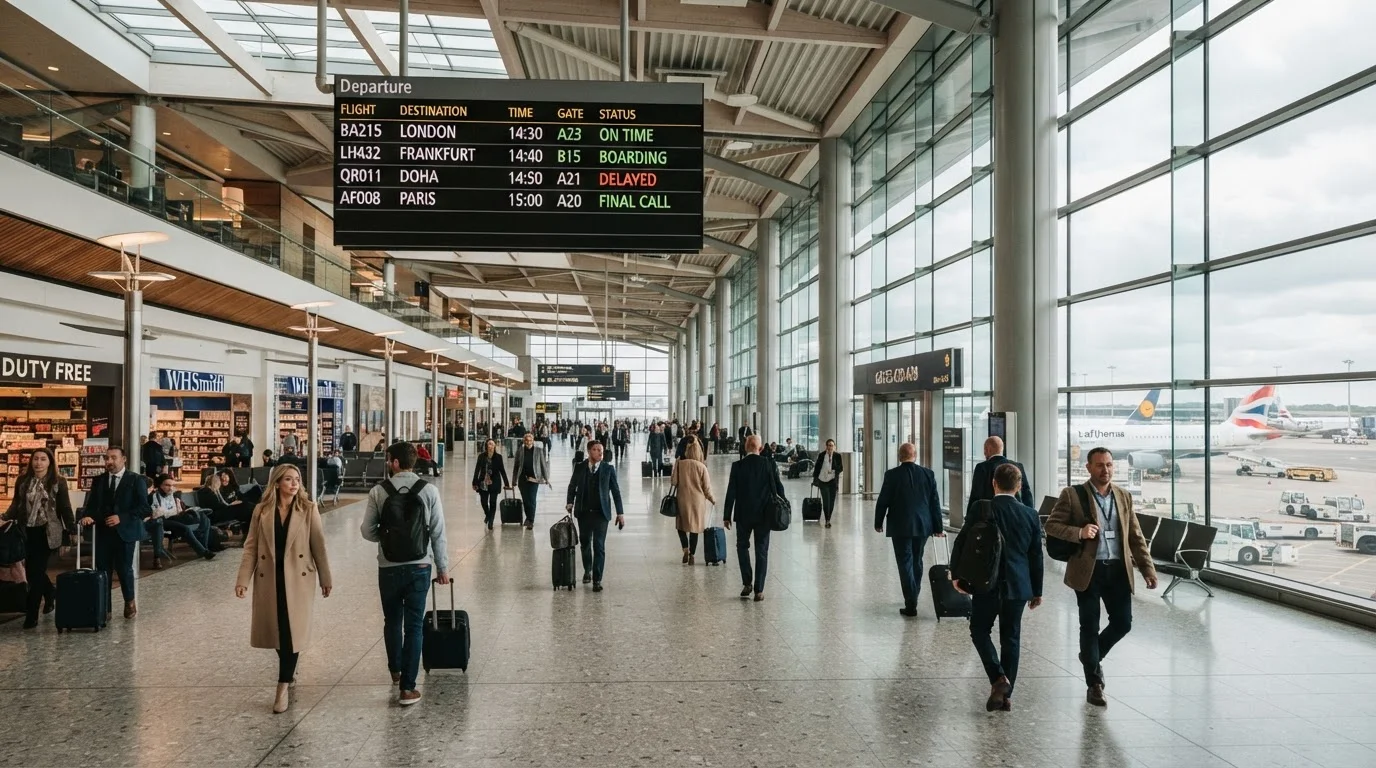
Photo credit: ArticlesHaven.net
In this article
A clear walkthrough of airport processes — check-in, security, gates, and boarding — written for people who don't fly often.
Key Takeaways
- Arrive at least two hours early for domestic flights, three hours for international.
- Online check-in opens 24 hours before most flights - do it from home to save time.
- TSA security requires liquids in containers of 3.4 oz or less, packed in a clear quart-sized bag.
- Your boarding pass shows your gate, but gates can change - check departure screens after clearing security.
- Boarding groups are called in order; listen for your group number or zone before joining the line.
Before You Leave Home
The single most effective thing an infrequent flyer can do is reduce uncertainty before arriving at the airport. That starts with online check-in, which most airlines open 24 hours before departure. Completing it at home means you can go straight to bag drop (if checking luggage) or directly to security (if flying carry-on only).
Download your airline's app or save your boarding pass to your phone's wallet. Screenshots also work as a backup. Confirm your flight details - departure time, terminal, and airline - the night before, since schedules occasionally shift.
Lay out everything you're bringing and check it against the TSA's guidelines on liquids and prohibited items. The carry-on packing framework is a practical reference for organizing your bag efficiently. Also review our pre-departure checklist to make sure nothing slips through the cracks.
Set a Departure Time and Stick to It
Work backwards from your flight: figure out your check-in and security time, then add your travel time to the airport. Build in a 15-minute buffer for the unexpected - traffic, parking, or a longer-than-usual security line. Writing it down or setting a calendar reminder removes one more mental load on the day of travel.
Check-In: What to Expect and When
If you didn't check in online, most airports have self-service kiosks at the airline's check-in area where you can print a boarding pass. Look for your airline's logo - kiosks are usually clustered by carrier. Airline staff are nearby if you get stuck.
Checking a bag? After check-in, head to the bag drop counter. You'll hand over your luggage, receive a claim tag, and that's it. Keep the claim tag receipt - it's your proof if a bag is delayed or misdirected.
Boarding pass
A document (printed or digital) that confirms your seat on a flight and is required to pass through security and board the plane.
Carry-on bag
A bag you bring onto the plane with you, stored in the overhead bin or under the seat in front of you, rather than checked into the cargo hold.
TSA
The Transportation Security Administration - the US federal agency responsible for security screening at airport checkpoints.
REAL ID
A federally compliant form of identification issued by states; required for domestic air travel at TSA checkpoints. Look for a star in the upper corner of your driver's license.
Bag drop
A dedicated counter where you hand over checked luggage after completing check-in, so it can be loaded onto the aircraft.
Boarding group
A numbered or lettered passenger grouping that determines when you join the line to board the plane - called in sequence by airline staff.
Carry-on bags go with you through security and into the cabin. Most airlines allow one carry-on (stored overhead) and one personal item (stored under the seat). Size and weight limits vary by airline, so confirm yours ahead of time.
Getting Through Security
TSA security checkpoints are where most infrequent travelers feel the most pressure. Understanding the process in advance removes almost all of that stress.
- Have your ID and boarding pass ready before you reach the document checker.
- Liquids rule: All liquids, gels, and aerosols must be in containers of 3.4 oz (100 ml) or less, all fitting in a single clear, quart-sized zip-top bag - one bag per person.
- At the screening belt: Remove your shoes, belt, and jacket. Laptops and large electronics typically need to come out of your bag and go in a separate bin. Follow the instructions on any posted signs.
- Walk through the scanner when directed, then collect your items on the other side. Don't rush - take a moment at the end of the belt to repack before moving on.
Don't Pack Prohibited Items in Carry-Ons
Items like sharp objects, certain tools, and flammable materials are not allowed in carry-on bags. TSA publishes a full prohibited items list on its website. If a prohibited item is found at the checkpoint, it will be confiscated - and could cause delays for everyone behind you. When in doubt, pack it in checked luggage or leave it at home.
If you fly regularly, TSA PreCheck allows expedited screening - you keep shoes and laptops in your bag. It requires a separate application and fee but can be worth it for frequent travel. For international trips, review our international flight orientation guide which covers entry requirements and additional screening considerations.
Finding Your Gate and Boarding
Once through security, check the departure screens - large monitors throughout the terminal - for your flight's gate number. Your boarding pass will list a gate, but it can change, so always verify against the live screens or the airline app.
Gates are identified by letter-number combinations (e.g., B12, D4). Terminal maps are posted at regular intervals and are also available on most airport websites. If you're unsure, airport staff at information desks can point you in the right direction.
Find your gate, note the boarding time on your pass, and give yourself time to visit a restroom or grab food before then. Boarding usually begins 30-40 minutes before departure.
How boarding works: Airlines call passengers in groups - typically first class, then elite frequent flyers, then general boarding by group or zone number. Listen for your group to be called before joining the line. Joining early when it's not your turn won't get you on faster and may cause unnecessary stress.
Gate Areas Are Low-Pressure Zones
Once you're at your gate, you have time. Most airports offer seating, charging outlets, food, and restrooms throughout the terminal. There's no need to be seated at the gate the moment you clear security - explore the terminal if it helps you feel more settled. Just keep an eye on departure boards and stay within earshot of gate announcements.
For travelers managing anxiety around flying, structured preparation is one of the most reliable tools available. The preparation habits for travel anxiety outlines practical strategies that extend well beyond the airport itself.
Frequently Asked Questions

Author
Articles Haven Editorial Contributor
Articles Haven Editorial Team is the collective byline for our editorial team and contributor network. Articles published under this byline or an editorial pen name are researched, written, and reviewed according to our editorial standards for clarity, consistency, and independence before publication.
View all articles →