
Bring Your Own Device (BYOD) to a New Carrier: How the Process Works
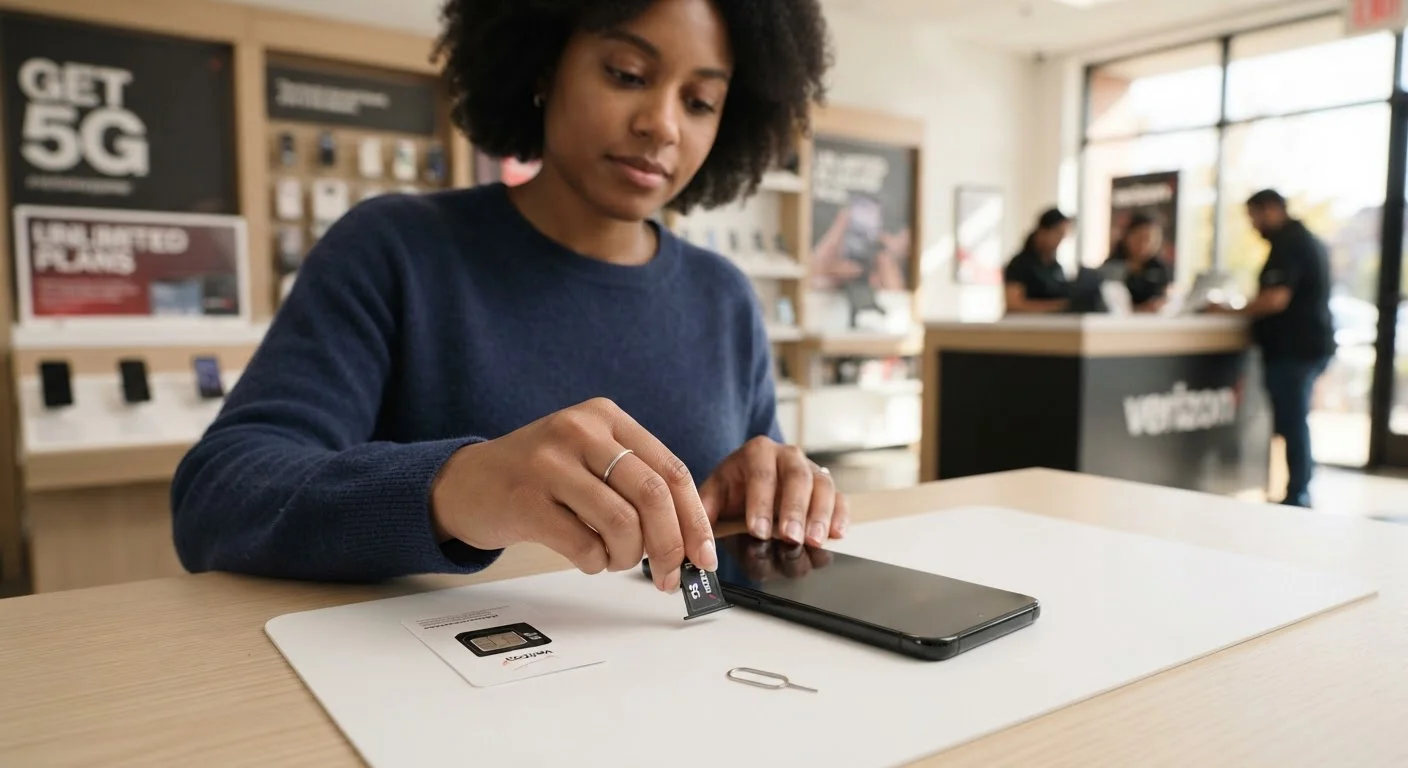
Photo credit: ArticlesHaven.net
In this article
BYOD lets you keep your existing phone and switch to a new plan. Here's how to verify compatibility and what to expect during the transition.
Key Takeaways
- Your phone must be both unlocked and compatible with the new carrier's network bands.
- You need your IMEI number and current account details before initiating the switch.
- Porting your existing phone number is optional but requires keeping your old account active during transfer.
- Most BYOD switches can be completed in under an hour once compatibility is confirmed.
- Activating a new SIM is the final step - your old service ends automatically after porting.
What BYOD Actually Means - and Why It Matters
Bring Your Own Device (BYOD) simply means activating an existing phone on a new carrier's plan rather than purchasing a device through that carrier. It's a popular option for people who are happy with their current phone but want better pricing, coverage, or plan features from a different provider.
The financial case is straightforward: skipping a device purchase eliminates monthly installment payments, and many carriers offer lower-cost BYOD plans since they don't need to subsidize hardware. The trade-off is that you also won't be eligible for device upgrade promotions tied to new purchases.
BYOD works across prepaid and postpaid plans alike. Whether you're comparing major national networks or smaller MVNOs - carriers that lease network access from larger providers - most accept compatible unlocked devices. For detailed questions to clarify before choosing a plan, see questions to ask before signing up for any cell phone plan.
What you will need
Tools and Information You'll Need
Before starting the switch, gather everything listed below. Having these on hand prevents delays mid-process, especially during the number porting step where timing matters.
IMEI Number
Used to verify your device's compatibility with the new carrier's network before switching.
New SIM Card
Required to connect your phone to the new carrier's network; often mailed free or purchased at a store.
Current Carrier Account Details
Your account number and PIN are needed to initiate a number port to the new carrier.
Wi-Fi Connection
Useful during activation to download carrier settings updates without using mobile data.
Check Compatibility Before You Commit
Most carriers offer a free IMEI compatibility check on their website - enter your 15-digit IMEI number (found in Settings > About Phone, or by dialing *#06#) to confirm your device will work on their network. For a deeper look at band support and SIM requirements, read how to tell if your phone is compatible with a new carrier.
Step-by-Step: How to Switch Carriers with Your Existing Phone
The process below covers unlocking verification, compatibility checking, account setup, and SIM activation. Most people can complete all steps in under an hour once they have their account details ready.
Confirm Your Phone Is Unlocked
An unlocked phone can connect to any compatible carrier's network. If you bought your phone directly from a manufacturer or paid it off in full, it's likely already unlocked. If you're unsure, contact your current carrier - they can confirm status and process an unlock request if you're eligible. This step is non-negotiable; a locked phone will not activate on a new network regardless of plan or SIM.
Verify Device Compatibility with the New Carrier
Not all phones support every carrier's network frequencies (called bands). Even an unlocked phone can underperform or fail to connect if it doesn't support the right bands. Use the new carrier's IMEI checker tool online to confirm your specific model is compatible. Pay attention to whether 5G, LTE, and calling features (like Wi-Fi calling or VoLTE) are fully supported.
Gather Your Current Account Information
To transfer your phone number (called "porting"), your new carrier will ask for your current carrier's account number and your account PIN or passcode. Find your account number in a recent bill or in your current carrier's app under account settings. Your PIN is separate from your phone's lock screen - it's the one set for account security or phone purchases.
Choose a Plan and Sign Up with the New Carrier
Once compatibility is confirmed and your details are ready, sign up for a plan with the new carrier. During the enrollment process, you'll be asked whether you're bringing your own device and whether you want to keep your existing number. Select both options if applicable. Before committing, review the plan's data policy, roaming terms, and any fees - the pre-signup checklist can help you avoid overlooked gotchas.
Receive and Install Your New SIM Card
The new carrier will mail you a SIM card or direct you to pick one up. Physical SIM cards come in different sizes (nano, micro, standard) - your new carrier's system will match the correct size to your device model. If your phone supports eSIM, you may be able to skip the physical card entirely and download the carrier profile digitally during activation.
Activate Your SIM and Complete the Port
Follow the carrier's activation instructions - usually available in their app or via a web link included with the SIM. During activation, if you requested a number port, the system will contact your old carrier to initiate the transfer. Porting typically completes within a few minutes to a few hours, though complex cases can take up to 24 hours. Once porting is confirmed, your old SIM will stop working automatically.
Don't Cancel Your Old Plan Too Early
Canceling your current carrier account before the number port completes will cause you to lose your phone number permanently. Keep your old account active until you receive confirmation that the number has transferred successfully to the new carrier. This is one of the most common and costly mistakes switchers make - see what else people get wrong when switching carriers for the full list.
After the Switch: What to Expect
Once your new SIM is active and the number port is confirmed, restart your phone and verify that calls, texts, and mobile data are all working. Check that carrier-specific features like Wi-Fi calling and visual voicemail are enabled in your phone's settings - these sometimes need to be toggled on manually after a carrier change.
If you notice signal or data issues in the first few days, it may be worth resetting your network settings (Settings > General > Reset > Reset Network Settings on iOS, or similar on Android). This clears old carrier configurations that can occasionally interfere.
Locked Phones Won't Work on a New Carrier
If your phone is still locked to your current carrier, inserting a new SIM card will not activate service - the device will simply reject it. Contact your current carrier to request an unlock before proceeding. Most carriers are required to unlock devices that are fully paid off and meet their unlock eligibility criteria.
If anything goes wrong during or after the port, contact your new carrier's support before taking any action on your old account. Switching carriers without losing your number is very achievable - the full number porting guide walks through edge cases and troubleshooting in more detail.

Author
Articles Haven Editorial Contributor
Articles Haven Editorial Team is the collective byline for our editorial team and contributor network. Articles published under this byline or an editorial pen name are researched, written, and reviewed according to our editorial standards for clarity, consistency, and independence before publication.
View all articles →