
Switching Wireless Carriers Without Losing Your Number
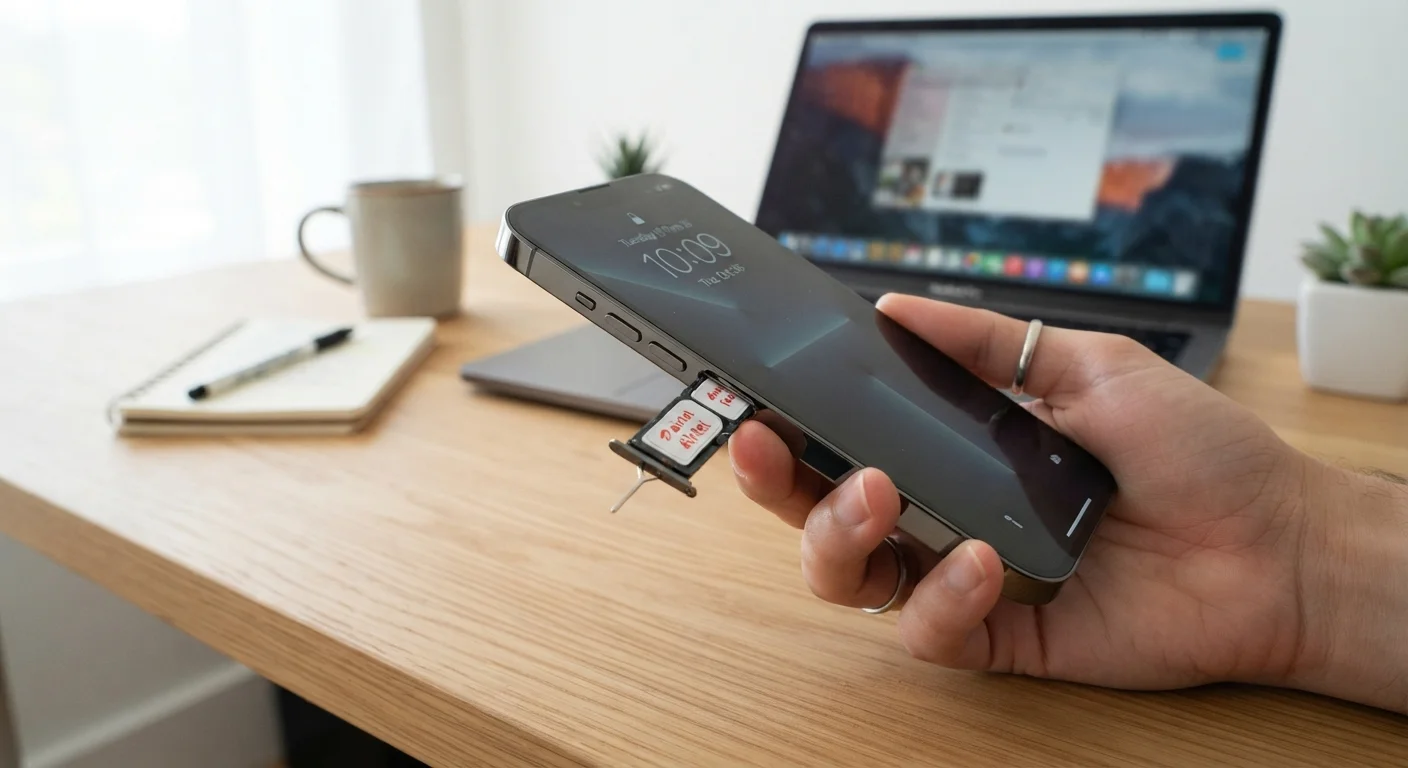
Photo credit: ArticlesHaven.net
In this article
Porting your number to a new carrier is straightforward when you know the steps. Here's how the process works and what to prepare.
Key Takeaways
- Federal law gives you the right to keep your phone number when switching carriers.
- You must get your account number and PIN from your current carrier before initiating a port.
- Do not cancel your old service - the new carrier handles the transfer automatically.
- Most ports complete within a few hours, though some take up to 24 hours.
- Keeping your old SIM active until the port confirms protects you from gaps in service.
Why Number Portability Exists and What It Means for You
Under FCC regulations, wireless customers in the U.S. have the right to keep their phone number when switching carriers - a process called local number portability (LNP). This applies to both mobile and, in many cases, landline numbers being moved to a mobile account. Carriers are legally required to honor valid port requests within a reasonable timeframe and cannot unreasonably block or delay a transfer.
This means you're not locked to a carrier by your phone number. The leverage to switch belongs to you, and the process is designed to be consumer-initiated. Before you start, it's worth reviewing what to check before committing to a new plan - coverage, data terms, and device compatibility should all be confirmed before you begin.
What you will need
Step-by-Step: How to Port Your Number
The steps below walk you through a standard wireless number port. The process is the same whether you're switching to a national carrier, a regional provider, or an MVNO (mobile virtual network operator - a reseller that runs on a major network's infrastructure).
Current carrier account credentials
Your account number and PIN are required by the new carrier to initiate the port request.
Unlocked or compatible device
Your phone must work on the new carrier's network bands before you can activate service.
New SIM card or eSIM activation code
Required to connect your device to the new carrier's network after the port completes.
Wi-Fi connection
Useful for completing account setup and downloading carrier apps without using cellular data during the transition.
Gather your porting information from your current carrier
Before you sign up with a new carrier, collect the details they'll need to transfer your number. Log in to your current carrier account or call customer service to retrieve:
- Your account number (not your phone number)
- Your account PIN or transfer PIN - some carriers let you generate a one-time port-out PIN
- The billing zip code tied to the account
Write these down exactly as they appear. Even a minor mismatch can delay the port.
Check that your device is unlocked
If you're bringing your current phone to the new carrier, confirm it's unlocked. A locked phone only works on its original carrier's network. You can usually check this in your phone's settings under General > About (iOS) or by inserting a different carrier's SIM and seeing whether it connects.
If your device is locked, contact your current carrier to unlock it. Most carriers are required to unlock devices once you've met their eligibility requirements (typically finishing a payment plan or completing a service term).
Sign up with the new carrier and request the number port
When you enroll with your new carrier - online, in-store, or by phone - select the option to transfer (port) your existing number rather than getting a new one. You'll be prompted to enter:
- Your current phone number
- Your current account number
- Your PIN or transfer PIN
- Your billing zip code
The new carrier submits a port request to your old carrier on your behalf. You don't need to contact your old carrier to initiate the switch.
Activate your new SIM or eSIM
Once you've enrolled, insert the new SIM card into your phone or follow the eSIM activation instructions provided by the new carrier. Your device may need a restart. At this stage, your old SIM may still be active - that's normal and expected while the port processes.
Wait for the port to complete
Most number ports complete within a few hours. Some - particularly those involving landline-to-mobile transfers or accounts with discrepancies - can take up to 24 hours. Your new carrier will notify you when service is active on your number.
To confirm the port is complete, make a test call or send a text message. If the call connects and shows your ported number on the recipient's end, the process is done.
Verify your old account is closed and billing is resolved
Once the port completes, your old carrier should automatically close the transferred line. However, it's worth logging in to your old account to confirm the line shows as inactive and that no unexpected charges are pending. You may receive a final prorated bill for the current billing period.
Never Cancel Your Old Service First
Canceling your current wireless account before completing the port will permanently release your phone number back into the carrier's available pool. Once released, that number can be reassigned to another customer and is generally unrecoverable. Always let the new carrier's port request trigger the deactivation automatically.
Common Issues and How to Handle Them
Most ports go through without a hitch, but a few scenarios can cause delays or rejections:
- PIN mismatch: The most frequent cause of port rejection. Double-check the PIN your current carrier has on file - not all carriers use the same PIN as your online account password.
- Name or address discrepancy: The information you submit must match your current carrier's records exactly.
- Device lock: If you skip the unlock step, you'll activate service on the new carrier but your phone won't connect to their network.
Account Holds Can Block Port Requests
If your current account has an outstanding balance, an active installment plan on a device, or a fraud hold, the port request may be rejected. Resolve any account issues with your current carrier before initiating the switch to avoid delays.
For a broader look at what trips people up during a carrier switch, see common mistakes when switching phone carriers.
Time Your Switch Strategically
Initiating a port earlier in the day - on a weekday - tends to result in faster processing, since carrier back-office teams are fully staffed. Avoid starting a port late on a Friday or before a holiday if you need the transition to go smoothly.
This article provides general informational guidance on wireless number portability. Specific processes, timelines, and requirements vary by carrier. Verify details directly with your current and new carrier before initiating a transfer.

Author
Articles Haven Editorial Contributor
Articles Haven Editorial Team is the collective byline for our editorial team and contributor network. Articles published under this byline or an editorial pen name are researched, written, and reviewed according to our editorial standards for clarity, consistency, and independence before publication.
View all articles →