
Why Your Paint Job Keeps Peeling (And What to Do Differently)
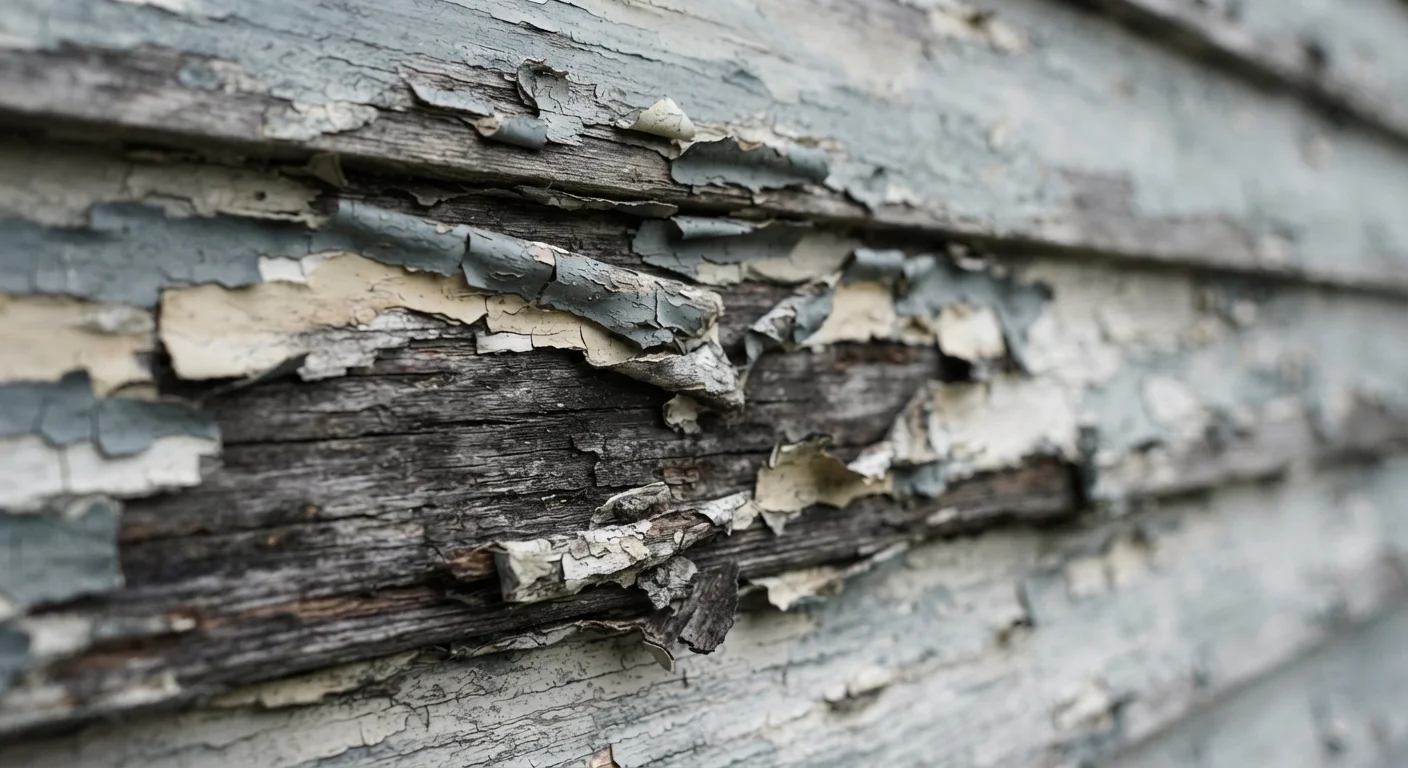
Photo credit: ArticlesHaven.net
In this article
Peeling paint is usually a prep or moisture problem, not a product one. Understand the real causes and how to fix them.
Key Takeaways
- Most peeling paint traces back to surface prep failures or trapped moisture, not paint quality.
- Painting over glossy, dirty, or damp surfaces dramatically shortens paint adhesion lifespan.
- Skipping primer on bare or porous surfaces is one of the most common and costly DIY mistakes.
- Exterior and interior paints fail for different reasons - matching the product to the environment matters.
- Professional painters often add value not through better materials, but through more disciplined prep work.
Why Peeling Keeps Happening Even After Repainting
Peeling paint has a way of coming back in the same spots year after year. That pattern is a signal: the underlying cause wasn't addressed, only the symptom. The most common root causes are surface contamination, moisture intrusion, and adhesion failures introduced during application - none of which get fixed by adding another coat of paint.
Understanding which category your problem falls into determines whether a careful DIY repaint can hold up or whether professional assessment makes more sense. The sections below walk through the mistakes that drive most repeat failures and what to do instead.
Moisture Is the Number One Culprit
Whether the source is rain, condensation, or a slow plumbing leak, moisture trapped behind paint film will always win. Before repainting any peeling surface, identify and fix the moisture source first. Repainting over a wet or damp substrate is essentially guaranteed to fail again within months.
The Mistakes That Cause Peeling Paint
The following errors account for the overwhelming majority of premature paint failure in both interior and exterior applications. Each one is preventable with the right preparation habits.
Skipping surface cleaning before painting.
Why it happens: It's tempting to go straight to painting, especially on surfaces that look clean to the eye. Dust, grease, and chalky residue from old paint are often invisible until adhesion fails.
Painting onto a glossy or previously painted surface without proper scuff-sanding.
Why it happens: Many homeowners assume a fresh coat will simply stick on top of the existing paint if it's in decent condition. Gloss surfaces are specifically engineered to resist bonding.
Applying paint in the wrong temperature or humidity conditions.
Why it happens: Project timelines push homeowners to paint when the weather cooperates with their schedule, not with the paint's requirements. Most latex paints need temperatures above 50°F and below 90°F to cure properly.
Skipping primer on bare, patched, or highly porous surfaces.
Why it happens: Primer feels like an extra step and an added cost. Some paint-and-primer combo products reinforce this perception, even though they rarely replace a dedicated primer coat on problem surfaces.
Applying paint too thickly in a single coat.
Why it happens: Thicker coats seem like they'd last longer and cover better. In practice, a single heavy application traps solvents during drying, leading to bubbling, sagging, and eventually peeling.
Don't Paint Over Old Peeling Layers
Adding a fresh coat directly over peeling paint doesn't seal the problem - it amplifies it. The new layer bonds to the unstable old paint, not the surface beneath, and will peel even faster. Strip or scrape loose paint thoroughly before applying anything new.
One detail worth noting: the application method itself can also contribute to adhesion problems when it doesn't match the surface or environment. Our spray vs. brush-on paint guide covers where each approach tends to succeed or create problems.
DIY Fix or Call a Pro? How to Decide
Small, isolated peeling on a well-understood surface - a window sill, a patch of interior trim - is generally manageable as a DIY project if you're willing to do the prep work properly. Scrape, sand, prime, and apply thin coats in appropriate conditions.
Where professional involvement tends to pay off is when:
- Peeling is widespread across a large exterior surface
- Moisture damage, rot, or structural issues are suspected beneath the paint
- The property involves older paint that may contain lead (common in homes built before 1978 - consult a certified contractor for safe removal)
- Previous DIY attempts have failed in the same areas
80%
Paint failures attributed to poor surface prep
Industry estimates from painting trade associations consistently attribute the large majority of paint failures to inadequate preparation rather than paint product defects.
24-48 hrs
Minimum drying time after washing exteriors
Most professional painters allow at least one to two full days after pressure washing before applying any coating to exterior wood or masonry surfaces.
Pros bring discipline in prep, not magic in materials. If you hire a painter, ask specifically how they handle surface preparation - that's where the quality of the job is actually determined.

Author
Articles Haven Editorial Contributor
Articles Haven Editorial Team is the collective byline for our editorial team and contributor network. Articles published under this byline or an editorial pen name are researched, written, and reviewed according to our editorial standards for clarity, consistency, and independence before publication.
View all articles →